Article 16: Editing Royalty-Free Artwork—How I’ll Create Illustrations Page by Page
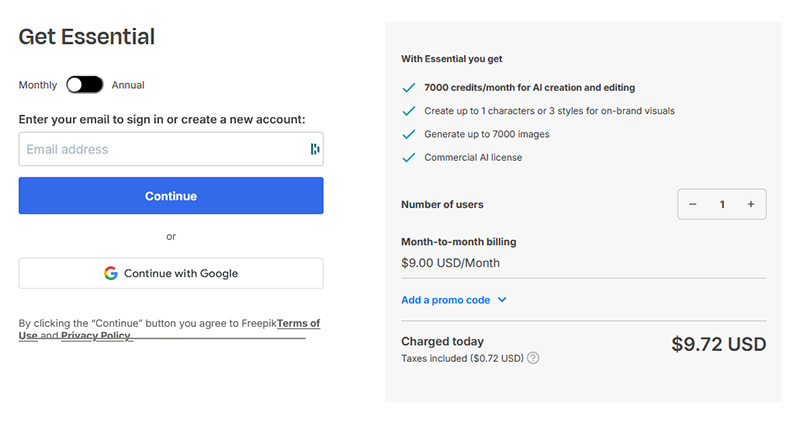
Last week, we selected Freepik as our royalty-free image source for A Bright Ass Idea!. While there are plenty of free options available, I ultimately chose Freepik’s Premium plan ($20/month) because it grants full access to their entire stock content without requiring attribution. Since I plan to use multiple images per page, this was a better option than their Essential plan ($9/month), which limits access and requires attribution.
Knowing that I only need the service for a month, my plan is simple: grab all the images I need for the book, make necessary edits, and cancel before the next billing cycle. Given that Sh*t, I Need a Job! was written and published within a month, I’m confident I can repeat the process for this book without issue.
Now that the images are within reach, it’s time to go page-by-page, searching for and selecting the best images based on our breakdown from Article 15. If you recall, we compared my personal image preferences with AI-generated recommendations to get fresh perspectives on visual storytelling. Some of AI’s picks were funnier and more unexpected than mine, so I’ll be considering those when making final selections.
The Challenge: Finding the Right Images
This week, I jumped into Freepik to test the process. It took longer than expected. Having never worked with royalty-free images like this before, I quickly realized that simply finding the right artwork could be time-consuming. To give you a clearer picture of this process, let’s break down Page 1 as an example.
Page 1 Example: Searching, Editing, and Assembling the Final Artwork
Text from Page 1:
“Once upon a time, way back in the olden days, everything was lit by fucking candles and smelly shitty oil lamps. Can you imagine that? It was dark as hell, and people were constantly tripping over crap in the dark. Then, along came these smart-ass scientists who were messing around with electricity.”
When I wrote this, I pictured a person stumbling in a dark living room, lit only by candlelight. With that in mind, I began searching for two key images:
- A dark living room lit only by candles.
- A person tripping over furniture in the dim light.
The search was not as simple as I expected. Finding a realistically dark living room took scrolling through hundreds of images, and finding someone actively tripping was even harder. Eventually, I landed on two images that worked.
Step 1: Download the Dark Living Room
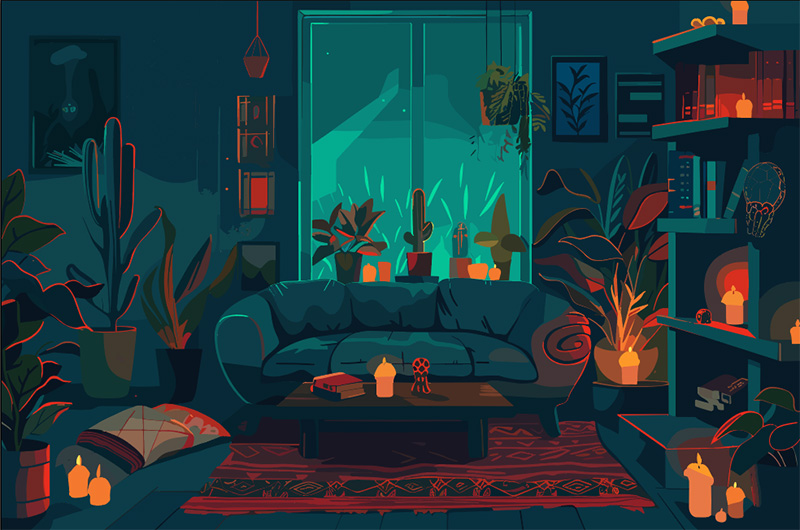
After searching Freepik, I found this dark candle-lit room. However, there was a problem—a modern lamp hanging on the left side of the image, which didn’t fit the era before electricity.
Original Image (Before Editing):
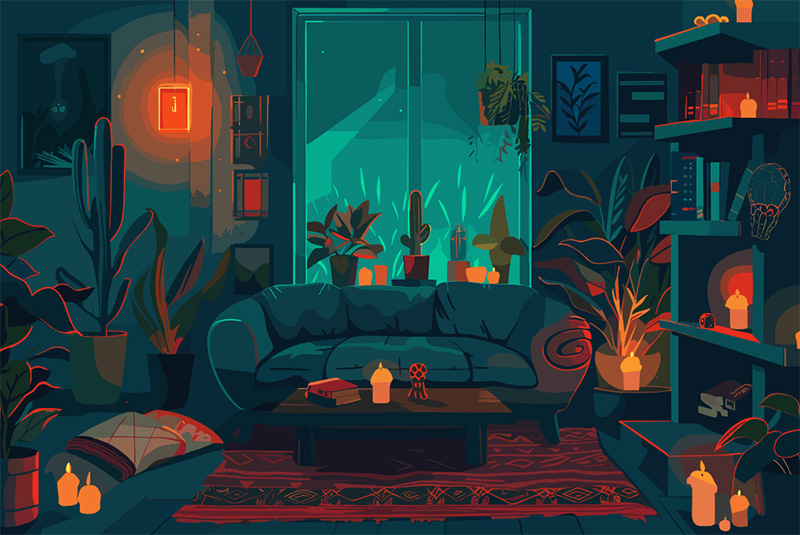
This meant I needed to remove the lamp before using the image.
Editing the Artwork: Using Adobe Illustrator
One of the reasons I chose Freepik is their vector file support, which allows for easy edits using programs like Adobe Illustrator. In my book, Quick Guide to Publishing Your Children’s Book, I listed basic editing tools other than Adobe. While Illustrator is my go-to, here are other options for editing artwork:
- Affinity Designer (https://affinity.serif.com/en-us/)
- Inkscape (Free) (https://inkscape.org/)
- CorelDRAW (https://www.coreldraw.com/en/)
- Sketch (https://www.sketch.com/)
- Vectr (Free) (https://vectr.com/)
- VectorStyler (https://www.vectorstyler.com/)
To edit the dark living room image, I:
- Opened the .EPS vector file in Illustrator.
- Ungrouped the image elements, allowing me to edit each section separately.
- Deleted the lamp by selecting it and replacing it with the same dark-blue color as the background wall.
Updated Image (After Editing):
Now, the lamp is gone, and the room looks like a proper pre-electricity setting.
Step 2: Adding the Character
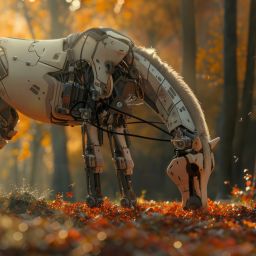
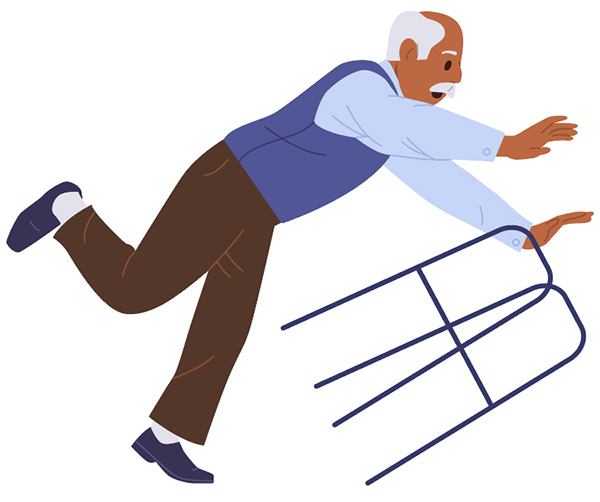
Next, I needed an image of a person tripping in the dark. I found this image of an old man falling down, but again, there was an issue—he was with a walker.
Original Image (Before Editing):
To make it look like he was tripping over furniture, I:
- Deleted the walker from the image.
- Adjusted his positioning to fit naturally into the scene.
Now, I had both essential elements:
✔ A dark candle-lit room (with edits).
✔ A man tripping (without a walker).
Step 3: Assembling the Page Layout
Once both images were prepped, I needed to combine them into a single page.
Page Size & Formatting
For A Bright Ass Idea!, I need each page to be 8.75” x 8.75” to allow for bleed. The final book will be 8.5” x 8.5”, so this extra 0.25” buffer ensures images extend fully to the edges without leaving unwanted white margins. I may elect to not go with bleeds, depending on the layout in the coming weeks.
Layering the Images in Illustrator
- Created a new 8.75” x 8.75” file.
- Pasted the dark living room on Layer 1.
- Placed the edited man on Layer 2 (above the background).
First Combined Image:

The white box you are seeing is the square page of 8.75″ x 8.75″. At this stage, I noticed two small visual issues:
- The man was too bright—he didn’t match the dark room.
- His position needed to align better with the furniture to make it look like he was actually tripping.
Step 4: Final Adjustments
- Darkened the man to match the dim candlelight by using Generative Recolor in Illustrator with the prompt “make the selection appear to be in a dark room.”
- Added a shadow under the man to create a realistic falling effect.
- Adjusted the furniture placement to make it look like he was tripping over the table.
- Removed an extra candle from the table (because if it were lit, he’d probably see the table).
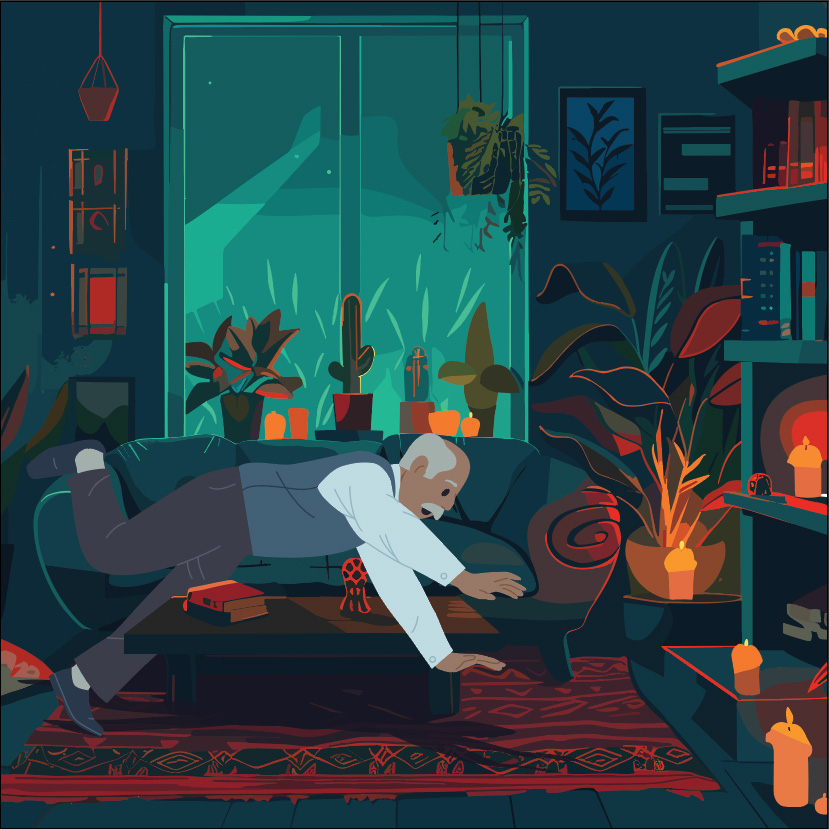
Final Page 1 Illustration:
Moving Forward: Completing the Remaining Pages
As you can see, there’s a lot of work that goes into finding, editing, and assembling each page’s illustration. My biggest challenge so far has been searching for the right images—it’s more time-consuming than I expected!
This week, my goal is to download all 10 images needed for the book, so I can start making similar edits for the rest of the pages. If I can complete at least five pages this week, I’ll consider it a success!
Next week, I’ll go through more pages step-by-step, showing how I modify images and blend them together to build the book.